Overhead
Gauges
Some of the gauges, e.g. fuel temperature and APU
EGT, made by myself, based on information I found
on the internet. Basically the same design as
Opencockpits uses. The gauges with two needles I
bought from OC. For the time being the gauges are ok,
but certainly I will replace them sometime in the
future.
Engine Start Switches
The Engine Starter Unit (solenoid with some
mechanics) I got from simparts.de. The unit is quite easy
to install and needs a short 12V pulse in order to reset the engine start switch from the GRD position
back to the OFF position. This happens with reaching
approximately 56% N2. In order to prevent damage of the switching
circuit a
free-wheeling diode is connected in antiparallel to
the solenoid. The switching pulse of ~ 100ms is
produced by a SIOC script which is monitoring
N2 during the engine start sequence.

Engine start switches with solenoids. At the
upper right corner you can see
one of the relay
circuits (blue box).
Links:
simparts:
http://www.simparts.de//, search for 'Engine
Starter Unit 737'
Battery Switch
The battery switch of the overhead acts as the main
power switch of the flight deck. As
long as the switch is in the 'OFF' position only the
OC interface cards, USB hubs, and some other
interfaces are supplied with operating
voltage. The cockpit is in
the so called 'Cold and Dark' condition. With
the battery switch 'ON' the 'switched' power supplies
getting activated, the display units (e.g. PFD. ND,
EICAS) and other components are getting 230V.
Furthermore the 'ON' status is read by the
pmSystems
software and the flight deck becomes alive. For more
information see 'Power Supply'.
System Software
Most of the overhead functionality is controlled
by pmSystems. The interfacing between pmSystems and the hardware is performed by a comprehensive SIOC
script, which includes some extensions for
additional functions and add-on integration.
Backlit
The LED's for the OH panels are located inside
the cover of the OH, build up by ~5m of LED strips.
Only for within small area were the interfaces are
mounted the LED's were placed on a support
structures below the interface cards. Next step will
be to add a PWM (pulse width modulation) dimming
circuit for the LED brightness control.
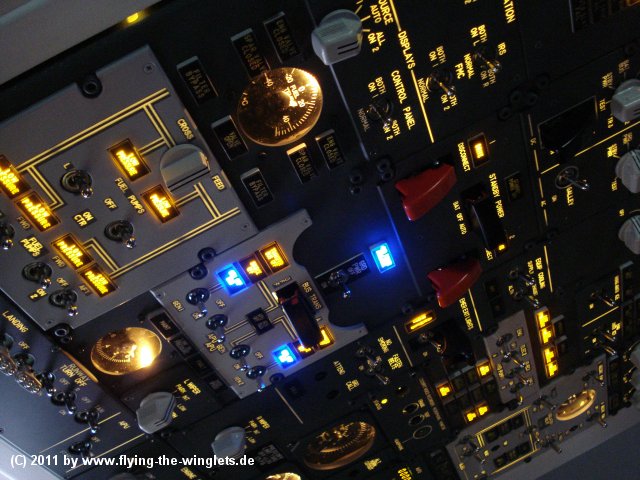
The Overhead at night

The FWD Overhead backlit is integrated in the top
cover of the OH
Ceiling Bracket
The overhead is mounted to the ceiling by the
means of 4 threaded rods, with a diameter of 12mm
each. This was a quick and economic solution, but
will
become an issue with the installation of the AFT OH. For the time being
I can live with this constraint, but definitely I will think about another solution in the near future.
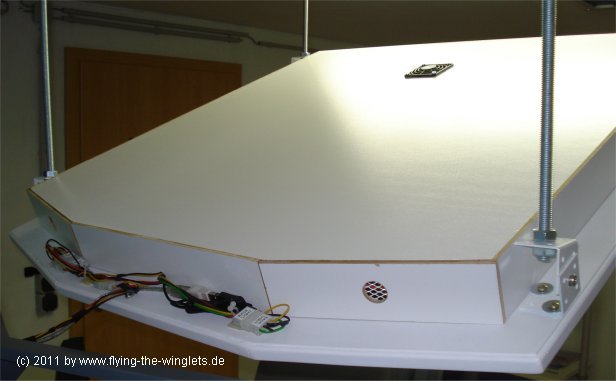
Overhead ceiling support.